Growing potatoes indoors can be a fun and rewarding activity, especially if you’re short on outdoor space or live in an area with a short growing season. While potatoes are typically grown in the ground, with the right techniques and conditions, you can successfully grow them in containers or even indoors. In this guide, we’ll explore the steps involved in growing potatoes indoors, including choosing the right container, preparing the soil, planting and caring for your potatoes, and harvesting your crop. Whether you’re a seasoned gardener or a beginner, growing potatoes indoors can be a satisfying way to bring a taste of the outdoors into your home.
What’s Needed to Grow Potatoes Indoors?

For indoor potatoes grown, you’ll need a few basic supplies, including:
- Seed Potatoes: Seed potatoes are the small potato tubers that are used for planting. You can usually find them at your local garden center or online.
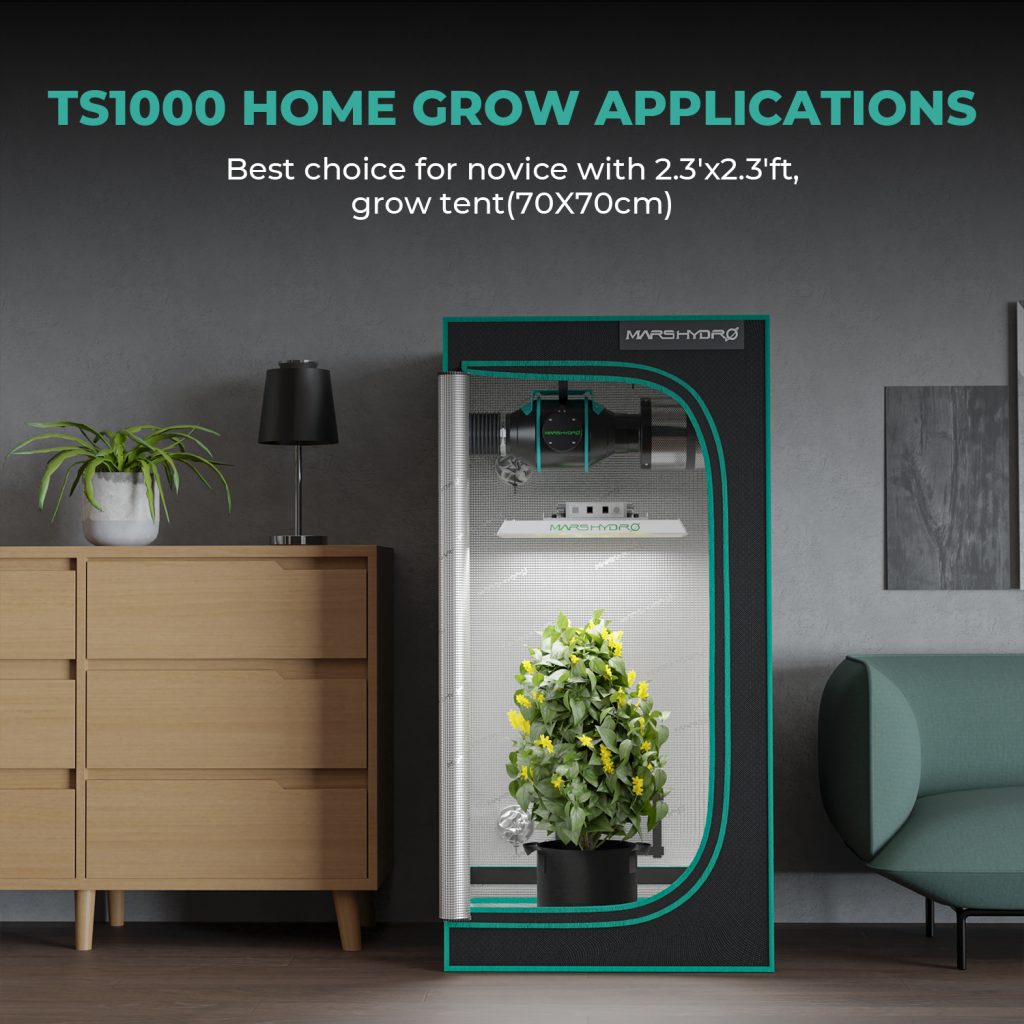
- Container: You’ll need a container that is at least 12 inches deep and wide enough to accommodate the number of seed potatoes you plan to plant. You can use a variety of containers, including plastic bins, potato grow bags, or large pots.
- Soil: You’ll need a good quality soil mix that is rich in organic matter and has good drainage. You can use a commercial potting mix or make your own using a combination of peat moss, vermiculite, and more compost.
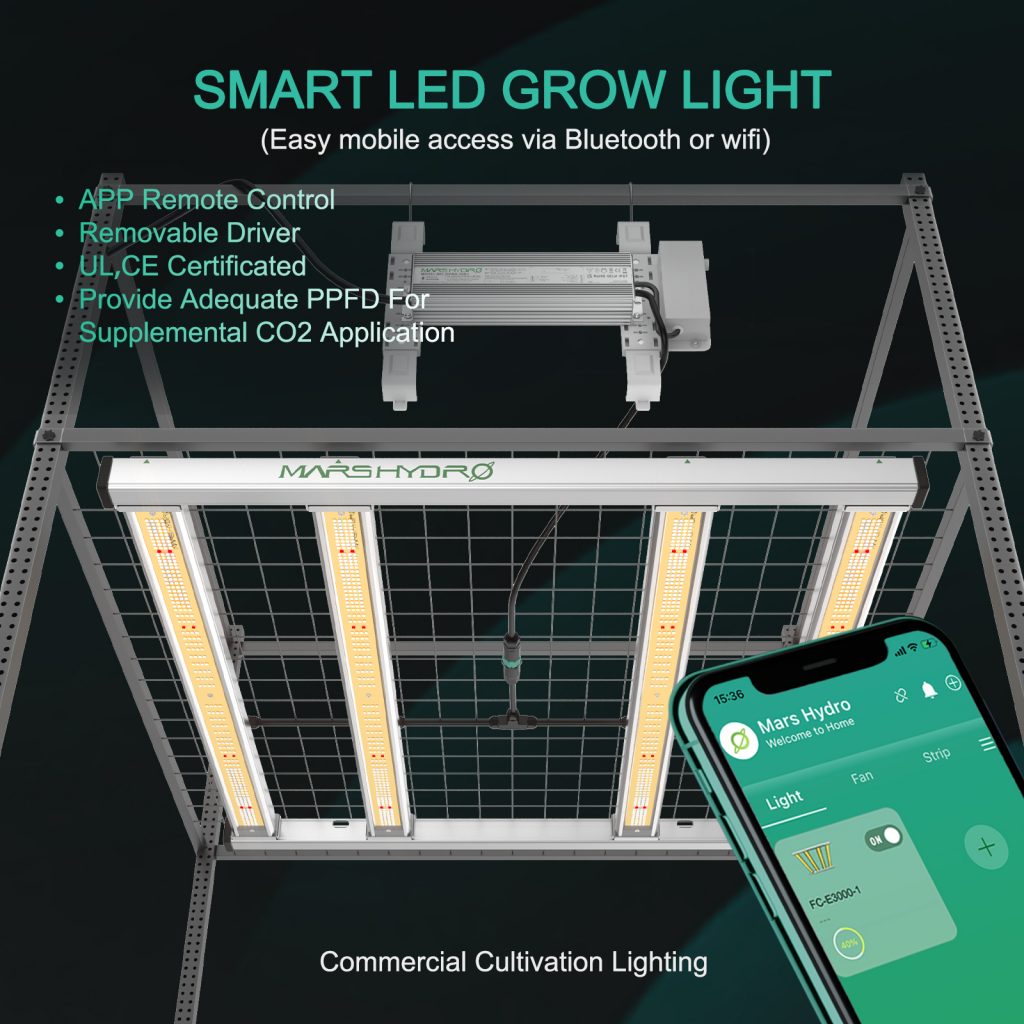
- Light: Potatoes need at least 6 hours of direct sunlight each day, but because you grow potatoes indoors, you have to use an artificial grow light to provide your potatoes enough supplemental light, like LED grow light which can save electricity bills for you.
- Water: Potatoes need consistent moisture to grow, so be sure to water them regularly. The soil should be kept moist but not waterlogged.
What Are the Best Potatoes To Grow?
There are many different varieties of potatoes, each with their own unique qualities and characteristics. When it comes to growing potatoes indoors, some varieties are better suited than others. Here are a few of the best types of potatoes to grow indoors:
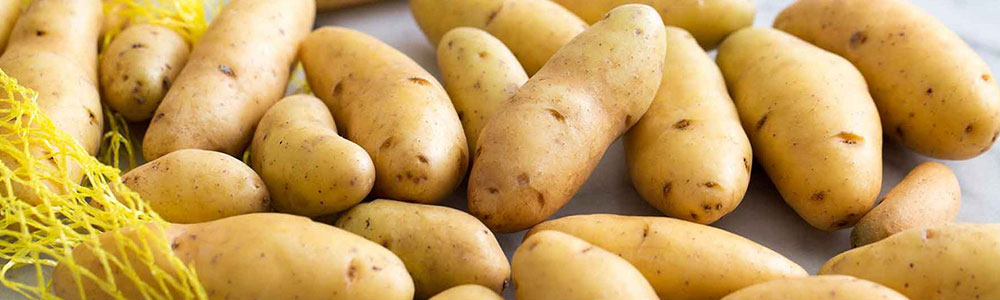
Fingerling Potatoes: Fingerling potatoes are small and thin, making them perfect for growing in containers. They have a buttery, nutty flavor and come in a variety of colors, including red, yellow, and purple.
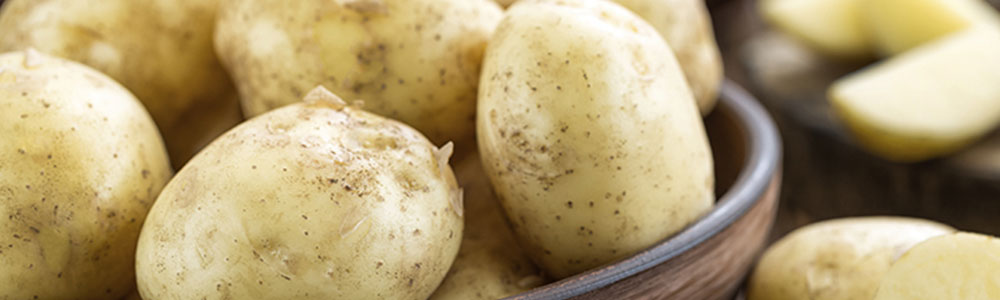
New Potatoes: New potatoes are harvested when they are still young and small, making them a great choice for indoor growing. They have a delicate, creamy texture and a slightly sweet flavor.
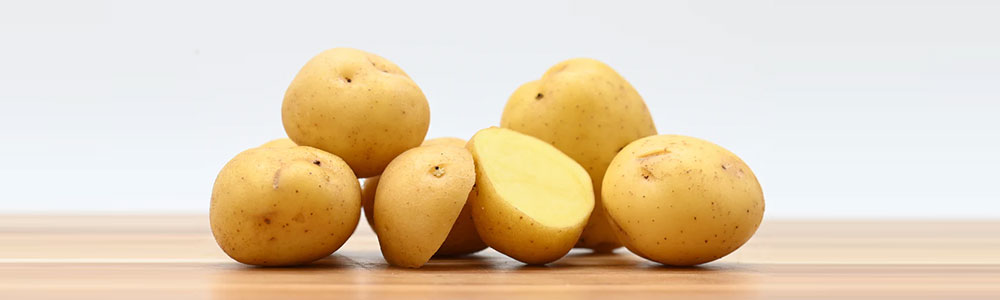
Yukon Gold Potatoes: Yukon Gold potatoes are a popular choice for indoor growing because they have a high yield and are easy to grow. They have a buttery, creamy texture and a slightly sweet flavor.
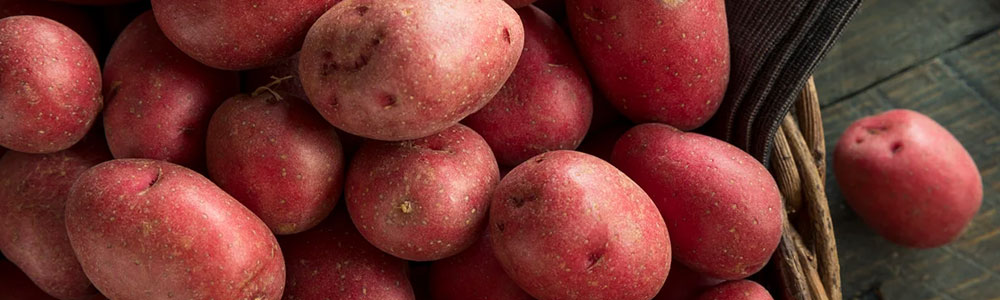
Red Potatoes: Red potatoes have a thin skin and a firm, creamy flesh, making them ideal for boiling or roasting. They are also a good choice for indoor growing because they are resistant to disease.
Ultimately, the best potatoes to grow indoors will depend on your personal taste preferences and growing conditions. Be sure to choose a variety that is well-suited for indoor growing and that you enjoy eating.
The Step-by-Step Instructions for Growing Potatoes Indoors
Step One: Choose a Container
The first step in growing potatoes indoors is to choose a container. You’ll want to select a container that is at least 12 inches deep and wide enough to accommodate the number of seed potatoes you plan to plant. You can use a variety of containers, including plastic bins, grow bags, or large pots. Make sure the container has drainage holes to allow excess water to escape. Keep in mind that the size of your container will impact the size and yield of your potato crop. A larger container will allow your plants to spread out and grow more tubers, while a smaller container may limit the growth and yield of your crop.

Step Two: Prepare The Soil
The second step in growing potatoes indoors is to prepare the soil. Fill your container with a good quality soil mix that is rich in organic matter and has good drainage. You can use a commercial potting mix or make your own using a combination of peat moss, vermiculite, and compost. Mix the soil well and make sure it is evenly distributed in the container. The soil should be moist but not waterlogged. If the soil is too wet, it can lead to rotting of the seed potatoes. Before planting, you can add a slow-release fertilizer or compost to provide additional nutrients for your potato plants.
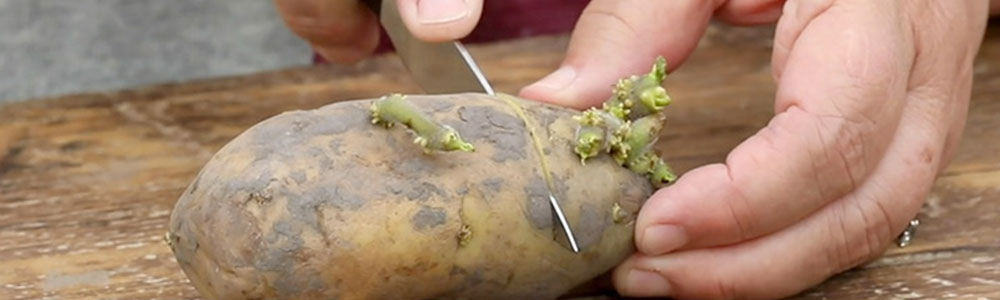
Step Three: Prepare The Seed Potatoes
The third step in growing potatoes indoors is to prepare the seed potatoes. Choose high-quality seed potatoes from a reputable source. Seed potatoes are specially grown for planting, and they are disease-free and produce healthy plants.
Then cut your seed potatoes into pieces that are about 1-2 inches in size. Each piece should have at least one eye or sprout. Use a clean, sharp knife to cut the seed potatoes, and be careful not to damage the sprouts. Allow the cut pieces to dry for a day or two before planting. This will help prevent the cut surfaces from rotting when they are planted in the soil.
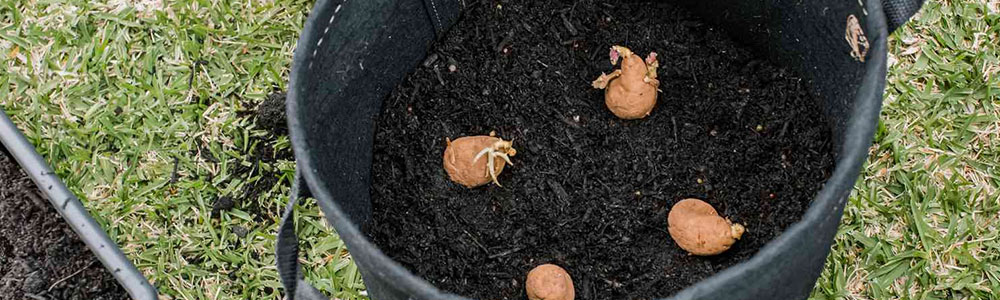
Step Four: Plant The Seed Potatoes
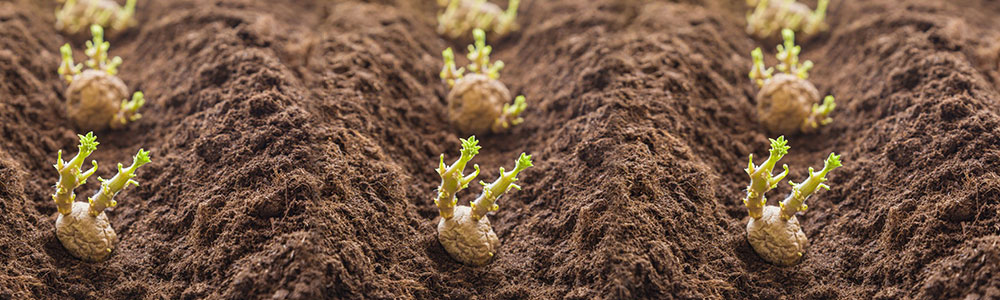
The fourth step in growing potatoes indoors is to plant the seed potatoes. Place the seed potato pieces on top of the soil, with the sprouts facing up. Space the seed potatoes 6-8 inches apart to give them room to grow. Cover the seed potatoes with 2-3 inches of soil.
As the potato plants grow, continue to add more soil to the container until it is filled to the top. This process is called hilling, and it helps encourage the plants to produce more tubers. Water the soil well after planting to ensure that the soil is moist but not waterlogged. You should see sprouts emerge from the soil within a few weeks. With proper care and attention, your potato plants will continue to grow and produce tubers throughout the growing season.
Step Five: Water Your Soil
Watering the soil is an important step in growing potatoes indoors. Potatoes need consistent moisture to grow and produce tubers. Check the soil moisture level regularly by sticking your finger about an inch deep into the soil. If the soil feels dry, it’s time to water.
When watering, make sure to saturate the soil evenly without overwatering. Overwatering can lead to rotting of the seed potatoes and other issues. And watering from the bottom is a good option to ensure that the soil is evenly moist. You can place your container on a tray filled with water and allow the soil to absorb the water from the bottom. As your potato plants grow, they may require more frequent watering, especially during hot and dry weather. Keep a consistent watering schedule to ensure that your potato plants remain healthy and produce a good crop of tubers.
Step Six: Provide Enough Light

Providing adequate light is crucial for growing potatoes indoors. Potatoes require at least 6-8 hours of direct sunlight per day to grow properly. If you don’t have access to a sunny windowsill or an area with enough natural light, you can use artificial lighting to supplement the light. LED grow lights are a good option for providing the necessary light for your potato plants.
Please position the lights about 6-12 inches above the plants and keep them on for 12-16 hours per day. And make sure to adjust the light height and duration as your plants grow to avoid burning the foliage. In addition to providing enough light, make sure the temperature is consistent and not too hot or too cold. Aim for a temperature range between 60-70°F for best results.
Step Seven: Care for Your Potatoes
Caring for your potatoes is an ongoing process that involves several key steps. In addition to watering and providing adequate light, you should also fertilize your plants regularly. You can use a balanced fertilizer with equal parts nitrogen, phosphorus, and potassium to provide the necessary nutrients for your potato plants. But avoid using too much nitrogen, as this can encourage foliage growth at the expense of tuber production.
You should also keep an eye out for pests and diseases, such as aphids, spider mites, and potato scab. Remove any affected foliage or tubers immediately to prevent the spread of the problem.
Finally, as your potato plants grow, they will require more space to spread out and grow. If you notice that your plants are becoming crowded, you may need to transplant them into a larger container or thin them out. By providing proper care and attention to your potato plants, you can ensure a healthy and productive harvesting potatoes.
Step Eight: Harvest Your Potatoes
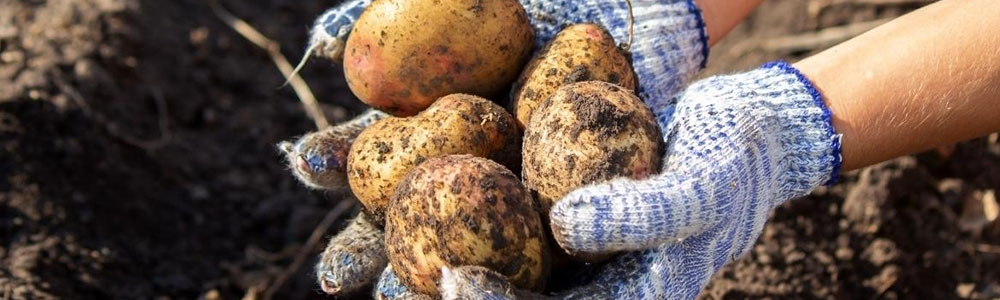
Harvesting your potatoes is the final step in the process of growing potatoes indoors. Potatoes are ready to harvest when the plants have died back and the foliage has turned yellow or brown. This usually occurs about 2-3 months after planting. Carefully dig up the soil in the container to expose the potato tubers and be gentle when digging to avoid damaging the potatoes. Then use your hands to carefully remove the potatoes from the soil.
Common Potato Diseases and Pests To Watch For
| Name | How to Identify | Solutions |
| Late blight | Late blight is caused by a fungal infection that can spread rapidly and destroy your potato crop.It can cuase brown spots on the leaves or stems. | To prevent late blight, plant disease-resistant varieties, space plants properly to encourage good air circulation, and avoid overhead watering. When you notice signs of late blight, such as brown spots on the leaves or stems, remove and destroy the infected plants immediately. Fungicides containing copper or mancozeb can also help prevent or control the spread of late blight. |
| Early blight | Early blight is another fungal disease that can cause brown spots on potato leaves and eventually kill the plant. | To prevent early blight, plant disease-resistant potato varieties, rotate your crops regularly, and practice good garden hygiene. If early blight occurs, remove infected leaves and stems immediately and dispose of them away from your garden. Fungicides containing copper or mancozeb can also help prevent or control the spread of early blight. |
| Potato scab | Potato scab is a bacterial disease that causes scabby, rough patches on the skin of potatoes. | To prevent potato scab, plant disease-resistant potato varieties, maintain soil pH between 5.0 and 5.5, and avoid using fresh manure or compost in the soil. Rotate your crops regularly and use a fungicide containing copper or sulfur to prevent or control the spread of potato scab. |
| Wireworms | Wireworms are the larvae of click beetles and can damage potato tubers by tunneling into them. | To control wireworms, rotate your crops regularly and use nematodes or parasitic wasps to control the larvae. You can also use sticky traps to catch adult beetles and prevent them from laying eggs. |
| Aphids | Aphids are tiny insects that can suck sap from potato plants, causing stunted growth and yellowing leaves. | To control aphids, remove infected leaves and use natural predators such as ladybugs, lacewings, and parasitic wasps to control populations. You can also use insecticidal soap or neem oil to control aphids. |
| Potato tuber moth | Potato tuber moth is a common pest in warmer regions and can damage potato tubers by tunneling into them. | To control potato tuber moth, rotate your crops regularly and use pheromone traps to catch adult moths. You can also use diatomaceous earth to prevent larvae from tunneling into potato tubers. |
Frequently Asked Questions
1. How many potatoes should I plant in a container?
The number of seed potatoes you should plant in a container depends on the size of the container and the type of potato. As a general rule of thumb, you can plant one seed potato per square foot of container space. For example, if you are using a 5-gallon container that has a surface area of around 1.5 square feet, you can plant 1-2 seed potatoes. If you are using a larger container, you can plant more seed potatoes. However, it’s important not to overcrowd the container as this can lead to competition for nutrients and space, which can result in smaller potatoes.
2. What should I do if my potato plants start to flower?
When potato plants start to flower, it’s a sign that the plant is reaching maturity and is about to start forming tubers. While the flowers themselves are not harmful, it’s a good idea to remove them to encourage the plant to focus its energy on tuber production rather than flower production. This is because flowering can divert nutrients and energy away from the developing tubers, resulting in a smaller harvest. To remove the flowers, simply pinch or snip them off at the stem where they meet the plant.
3. Can I reuse the soil for another crop of potatoes?
Technically, you can reuse the soil for another crop of potatoes, but it’s not recommended. This is because potato plants are heavy feeders that require a lot of nutrients from the soil to grow properly. After a single growing season, the soil may be depleted of nutrients, and there may be a buildup of disease organisms, pests, or weed seeds that can affect the health and growth of the next crop.
4. Can I use regular soil to grow Sweet potatoes indoors?
While it’s technically possible to grow sweet potatoes in regular soil, it’s not recommended. This is because potatoes require loose, well-draining soil that is rich in organic matter. Regular soil may not provide the right conditions for potatoes to grow properly and can lead to issues such as poor drainage, soil compaction, and nutrient deficiencies.

I’m a potato lover and I’ve always wanted to grow my own potatoes indoors. Your article gave me some great tips on how to choose the right container, soil, and seed potatoes. I especially liked the step-by-step guide on how to sprout, plant, and harvest your potatoes. Thanks for sharing this helpful post.