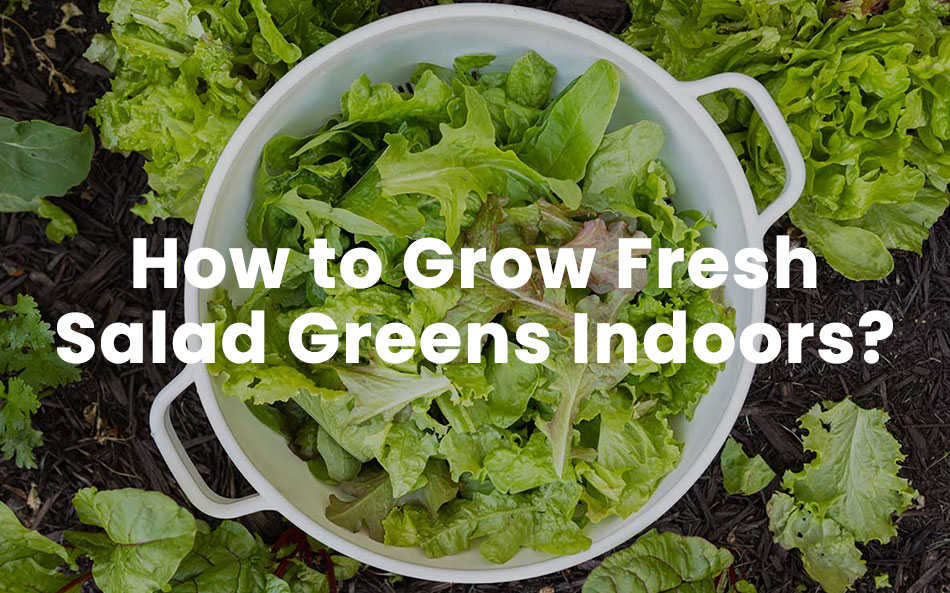
Are you yearning for a constant supply of crisp, vibrant green salad that elevate your culinary creations to new heights? Imagine stepping into your home, plucking fresh leaves from your own indoor garden, and turning them into a mouthwatering salad that bursts with flavor and nourishment. Say goodbye to store-bought greens with their limited shelf life and hefty price tags, and say hello to the gratifying world of growing salad greens indoors!
Whether you’re a seasoned green thumb or a novice with a desire to explore the world of gardening, this guide will take you on an enchanting adventure of cultivating your green salad from seed to plate.
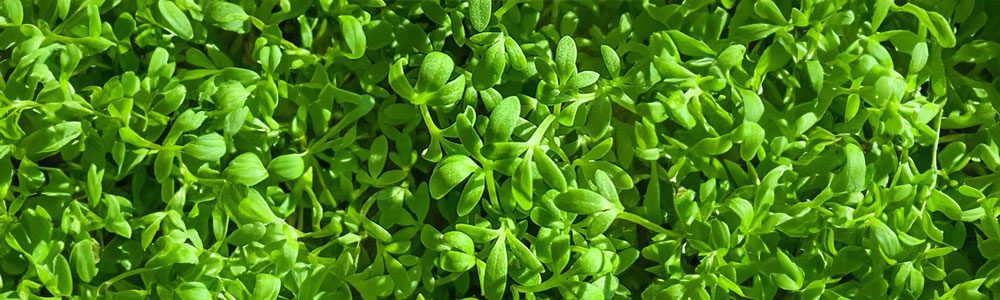
Popular Types of Salad Greens for Indoor Cultivation
When it comes to indoor cultivation, some best greens for healthy salad are better suited for limited spaces and lower light conditions. Here are popular types of salad greens that thrive well indoors:
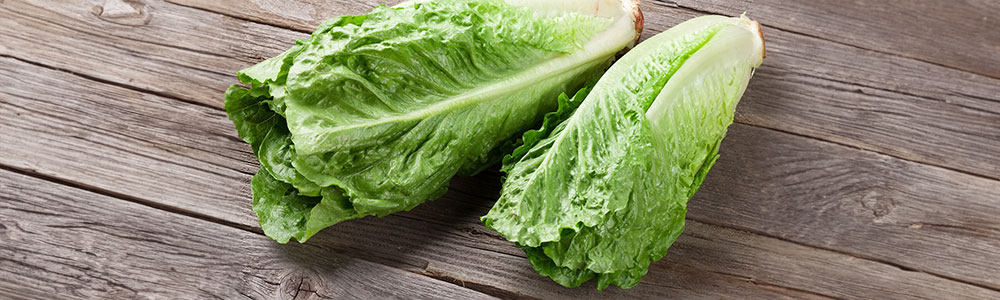
Lettuce (Lactuca sativa): Lettuce comes in various varieties, including loose-leaf lettuce, butterhead lettuce, romaine lettuce, green leaf lettuce, iceberg lettuce, and crisphead lettuce. They are easy to grow indoors and mature relatively quickly, making them ideal for continuous harvests.
Spinach (Spinacia oleracea): Spinach is rich in nutrients and adds a delightful earthy flavor to salads. Baby spinach varieties are well-suited for indoor gardening due to their compact size.
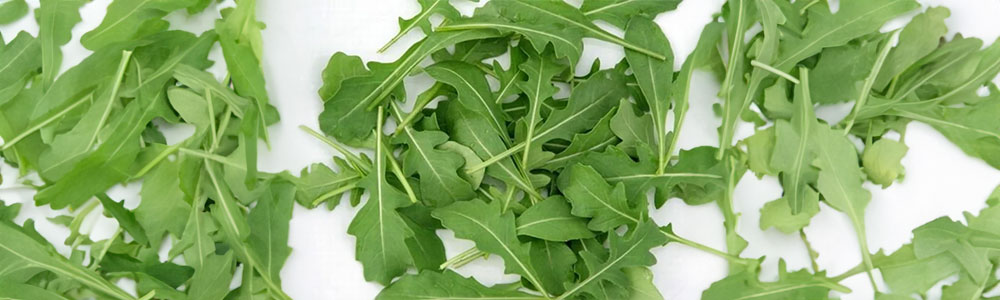
Arugula (Eruca sativa): Arugula, also known as rocket, has a peppery and slightly nutty taste. It’s fast-growing and can be harvested early for microgreens or allowed to mature for larger leaves.
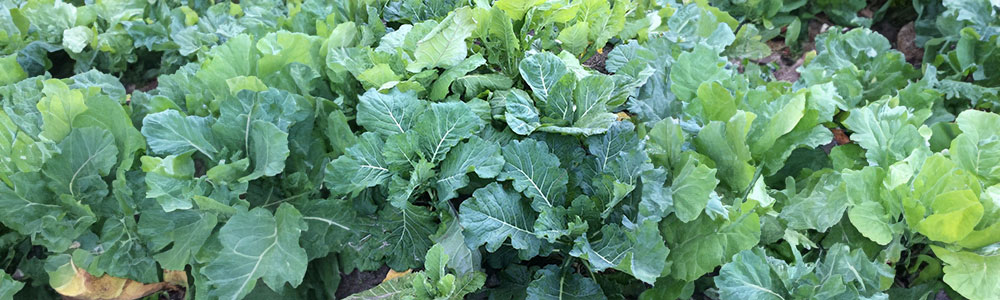
Kale (Brassica oleracea var. acephala): Kale is a nutritional powerhouse and comes in different varieties, including curly kale and Tuscan kale. It’s a bit larger and may require more space, but regular harvesting keeps it in check.
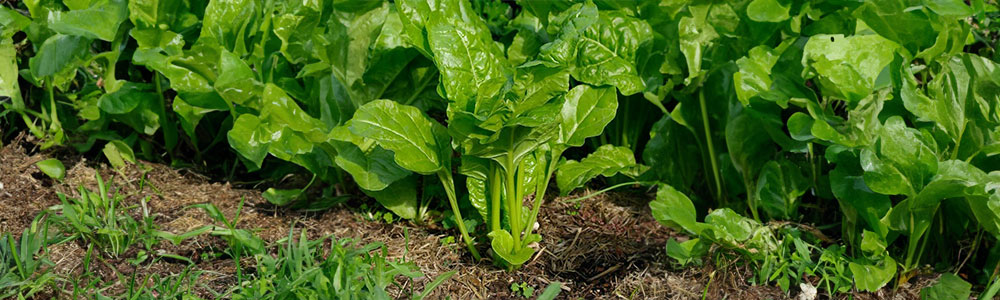
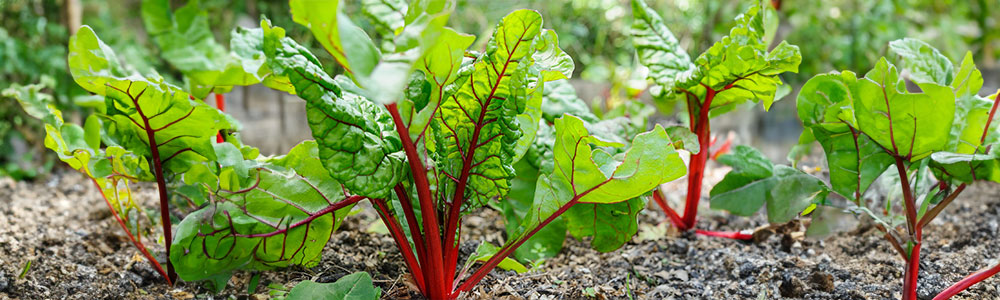
Swiss Chard (Beta vulgaris subsp. vulgaris): Swiss chard boasts colorful stems and tender leaves. Baby chard can be harvested for salads, while mature leaves can be cooked like spinach.
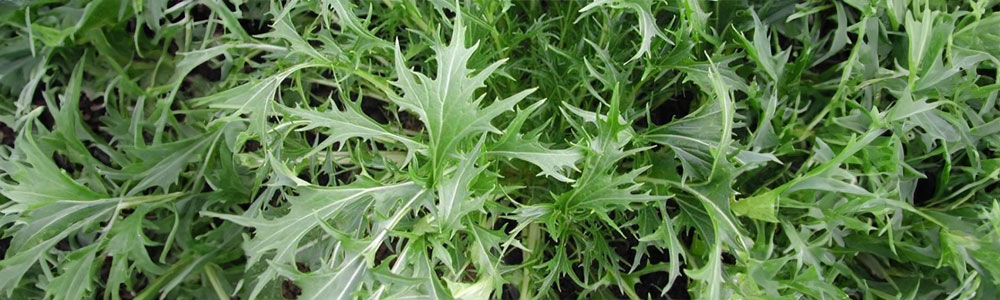
Mizuna (Brassica rapa var. nipposinica): Mizuna is a mild, slightly peppery Asian green. Its feathery leaves are quick to grow and add a lovely texture to salads.
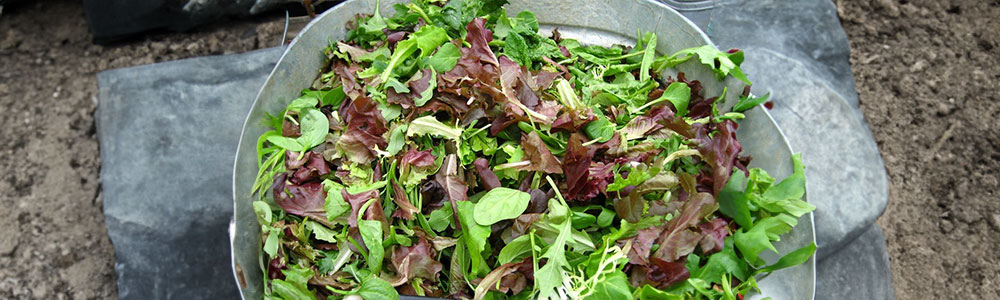
Mesclun Mix: This is not a single plant but rather a mix of various salad greens, often including lettuces, arugula, mizuna, and more. It provides a diverse range of flavors and colors.
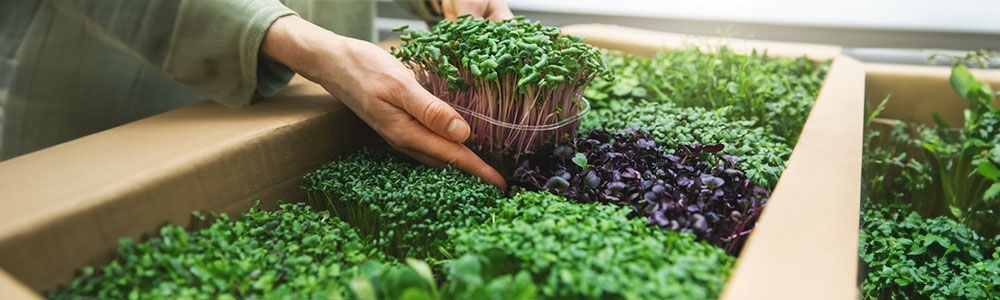
Microgreens: While not a specific type of salad green, microgreens are young and tender versions of various greens, harvested at an early stage. They are perfect for indoor cultivation, as they require minimal space and time.
Bibb Lettuce (Lactuca sativa var. capitata): Also known as butter lettuce, Bibb lettuce has tender, buttery leaves that are a treat in salads.

Cress (Lepidium sativum): Watercress and upland cress are popular choices for indoor cultivation. They have a peppery taste and are easy to grow in small containers.
The Effects of Growing Salad Greens Indoors
Growing green salad indoors offers a host of health benefits, ensures minimal contamination risks, and provides a safe and suitable source of fresh greens for babies. Let’s delve into the effects in detail:
1. Nutrient-Rich and Healthier Greens: Indoor cultivation allows you to harvest best salad greens at their peak freshness, preserving their nutritional content. These greens are rich in essential vitamins, minerals (such as iron, calcium, and magnesium), and antioxidants that support overall health and immune function.
2. Reduced Contamination Risk: By growing greens indoors, you have better control over the growing environment, reducing the risk of contamination from pesticides, chemicals, or pollutants that may be present in outdoor environments.
3. Organic and Chemical-Free: Opting for organic growing methods indoors further minimizes exposure to harmful chemicals, ensuring that the best salad greens you grow are free from synthetic pesticides and fertilizers.
4. Baby-Friendly Greens: When growing salad greens indoors, you can choose baby leaf varieties that are tender, flavorful, and easier to chew for infants and toddlers. These baby greens provide a safe and nutritious addition to their diets.
5. Low Bacterial Contamination: Indoor gardening reduces the likelihood of bacterial contamination, such as E. coli and Salmonella, which can sometimes be present in outdoor-grown greens due to exposure to animal feces or contaminated water sources.
6. Freshness and Optimal Flavor: Harvesting salad greens indoors ensures that you consume them at their freshest, offering the best flavor and texture for your salads and dishes.
7. Continuous Harvesting: Indoor cultivation allows for staggered planting, enabling a continuous supply of fresh greens for your family’s meals without depleting the entire crop.
8. No Seasonal Constraints: Growing salad greens indoors allows you to enjoy fresh greens year-round, regardless of the season or climate outside.
9. Safe from Pests and Wildlife: Indoor gardening protects salad greens from pests, rodents, and wildlife that may otherwise damage or contaminate outdoor crops.
10. Control Over Soil and Water Quality: With indoor gardening, you can ensure the use of high-quality, nutrient-rich soil and clean, filtered water, promoting healthier plant growth.
11. Engaging for Children: Indoor gardening can be an engaging and educational activity for children, introducing them to the joys of growing their own food and fostering a love for fresh, healthy greens from an early age.
Simple Steps to Effectively Growing Salad Greens Indoors
Step 1: Choose the Right Salad Greens
Selecting the best salad greens is the first step towards a successful indoor garden. Opt for varieties that are well-suited for indoor cultivation, such as baby lettuces, spinach, arugula, and microgreens. These greens are more compact and have shorter growth cycles, making them ideal for limited indoor space. Additionally, consider your preferences and culinary needs when choosing the greens to grow. Some varieties offer a mild flavor, while others boast a peppery or nutty taste, allowing you to customize your salad blends to suit your palate.

Step 2: Find the Perfect Location
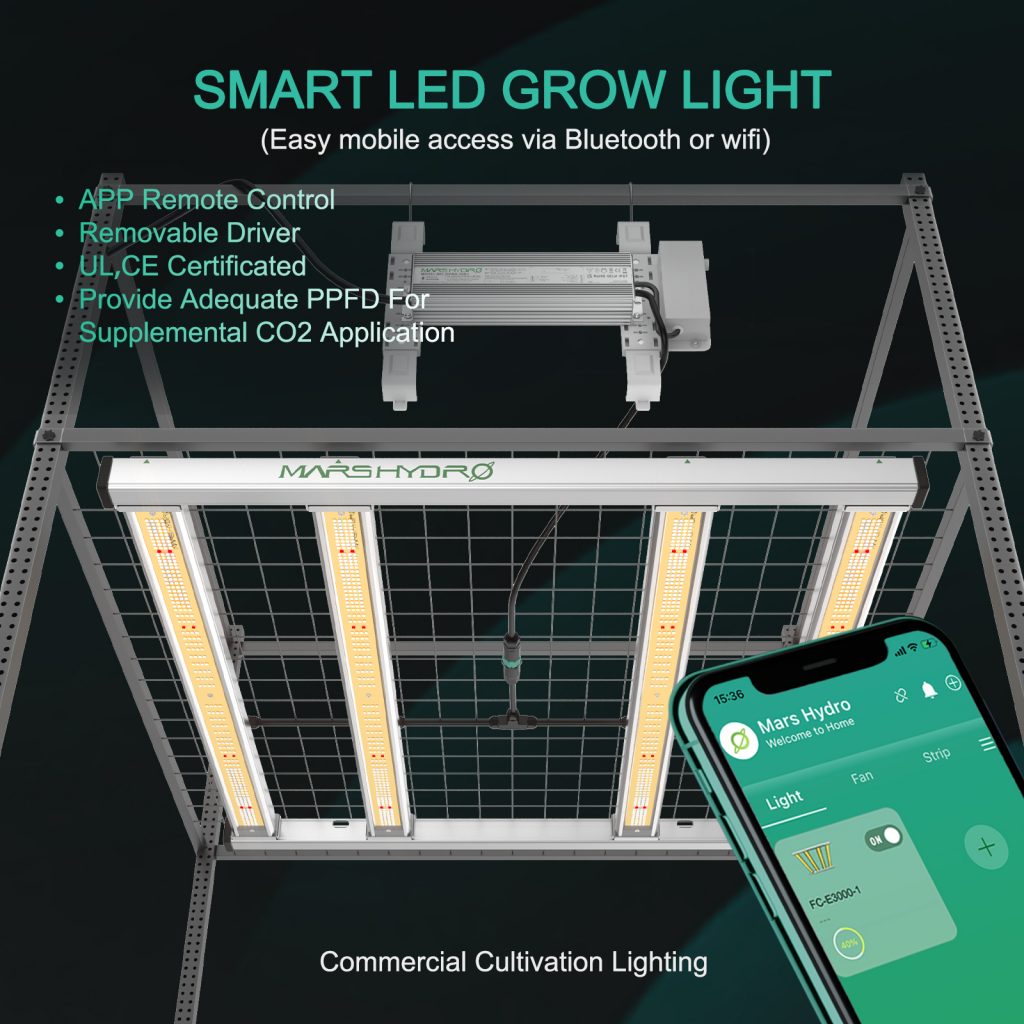
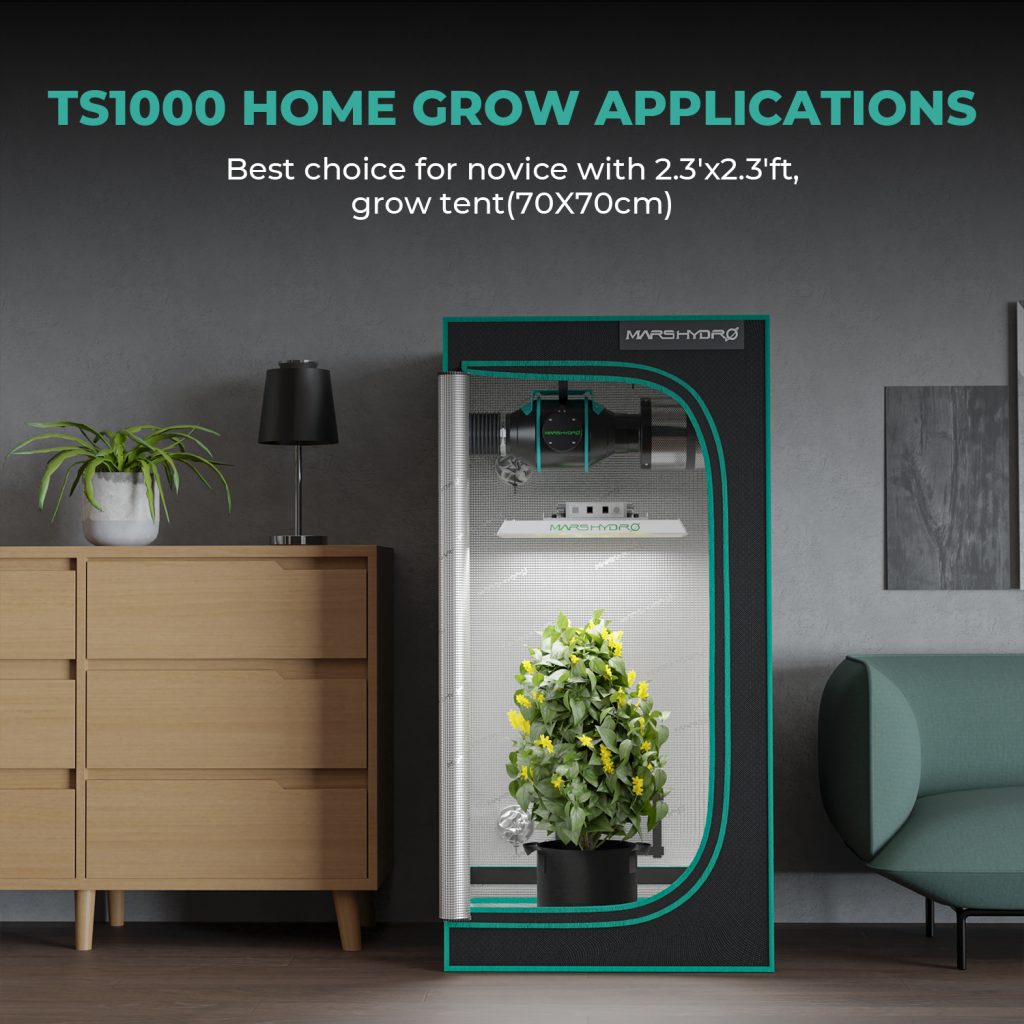
Finding the right location for your indoor garden is crucial for the healthy growth of salad greens. Ideally, place your containers near a sunny window that receives at least 4-6 hours of direct sunlight daily. South-facing windows tend to provide the best light exposure. If your indoor space lacks sufficient natural light, consider using artificial LED grow lights designed for plants. Mars Hydro TS series and SP150 small LED grow lights are the perfect choice for your indoor salad greens. As they provide your indoor green salad with optimal full spectrum with low heat emission. And position the lights a few inches above the greens and adjust the height as the plants grow to ensure they receive adequate light.


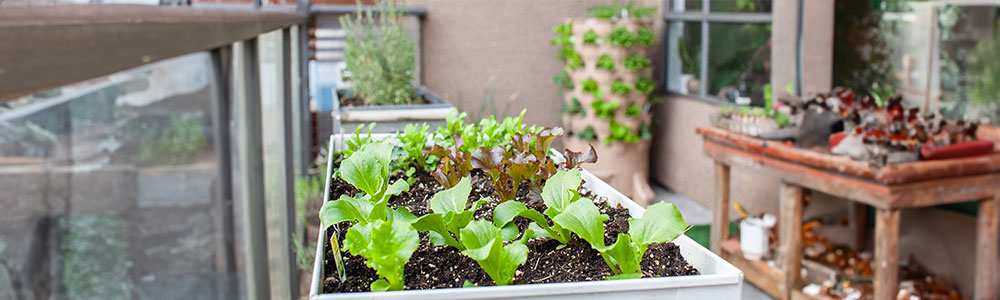
Step 3: Prepare the Growing Containers
Proper containers and soil are essential for successful indoor gardening.
Please choose shallow pots or containers with drainage holes to prevent waterlogging, as excess moisture can lead to root rot. Fill the containers with a high-quality potting mix that offers good aeration and drainage. And avoid using garden soil, as it may contain pests or pathogens that could harm your greens. In addition, make sure the containers are clean and sterilized before planting to minimize the risk of contamination.
Step 4: Sow the Seeds
Sowing the seeds is an exciting moment in the indoor gardening process. You should follow the instructions on the seed packets for proper planting depth and spacing. At first, sprinkle the seeds evenly across the surface of the soil, and then cover them lightly with a thin layer of soil. Gently water the containers after planting to settle the soil and initiate germination. Then keep the soil consistently moist during the germination period, which usually takes 7-14 days, depending on the variety.
Step 5: Watering and Care
Watering is a critical aspect of caring for your salad greens. Please keep the soil consistently moist but avoid overwatering, as waterlogged soil can lead to root diseases. And check the soil regularly and water when the top inch feels dry to the touch. To prevent water from splashing on the leaves, water the base of the plants instead of overhead. If your indoor environment is particularly dry, consider misting the greens occasionally to maintain moderate humidity levels.
Step 6: Temperature and Humidity
Salad greens typically thrive in moderate temperatures, ranging from 60-75°F (15-24°C). Avoid exposing them to extreme temperatures or drafts that can stress the plants. Additionally, maintain a moderate level of humidity in your indoor space. If your home is particularly dry, especially during winter months when indoor heating is used, misting the plants or using a humidifier can help create a more favorable environment for growth.
Step 7: Fertilize Regularly
Proper nutrition is essential for healthy plant growth, and salad greens are no exception. Fertilize your greens every 2-4 weeks with a balanced liquid fertilizer, following the manufacturer’s instructions. Choose a fertilizer specifically formulated for edible plants, and avoid over-fertilization, as it can lead to excessive foliage growth at the expense of flavor and texture.
Step 8: Pruning and Harvesting
As your salad greens mature, you’ll be eager to taste the fruits of your labor. And harvesting is a crucial step in the indoor gardening process. You could use clean scissors or garden shears to cut the leaves near the base, leaving the central growth point intact to encourage regrowth. Harvest outer leaves first, allowing the inner leaves to continue growing. Regular harvesting promotes continuous growth and ensures a steady supply of fresh greens for your salads and dishes.
Step 9: Pests and Disease Prevention
Vigilance is necessary to prevent pests and diseases from infesting your indoor garden. Inspect your plants regularly for signs of pests, such as aphids or spider mites, and address any issues promptly. You can use natural remedies like neem oil or insecticidal soap to combat common pests. Additionally, practice good hygiene, such as keeping your gardening tools clean, to minimize the risk of introducing pathogens to your greens.
Step 10: Rotate and Refresh
To prevent leggy growth and ensure even exposure to light, rotate your containers regularly. This helps all sides of the plants receive equal sunlight and prevents them from leaning towards the light source. Additionally, to maintain a continuous supply of fresh greens, consider starting new seedlings every few months and replacing old plants as they age or are harvested.
Step 11: Enjoy Fresh Homegrown Salads!
Now that you’ve nurtured your salad greens from seed to plate, it’s time to reap the delicious rewards. Harvest your greens at their peak freshness and enjoy them in vibrant salads, sandwiches, smoothies, and various culinary creations. The satisfaction of growing your own fresh, healthy greens indoors is unmatched, and with each delightful bite, you’ll relish the goodness of homegrown goodness and the pride of a successful indoor garden!
Final Thoughts
In conclusion, growing salad greens indoors is a gratifying and accessible way to bring the goodness of fresh, nutritious greens to your table year-round. Through these simple steps, you can transform your indoor space into a thriving oasis of lush greenery, teeming with vibrant and flavorful salad greens.
If you have any other questions about growing salad greens at home or LED grow lights, please feel free to contact us!
